Wednesday, April 28, 2010

red (pink) velvet cake

My friend Heather turned 30+1 last Saturday and she threw herself a rockin' party. There were beers and bbq and beer cricket and a bonny time was had by all. It was not a potluck per se, but rather a skewer bar. Each guest brought an ingredient or two that would grill well when placed on a wooden stick, and it was a huge success.


My task, beyond marinating chicken and zucchini as my skewer contributions was to make the cake. When I asked Heather what her favorite cake flavor was, she proved, once again that she is a woman after my own heart. Red Velvet.


What is it exactly about this brightly-hued cake that makes people (myself included) go gaga?!?! Is it the not-so-natural redness? Is it the not-quite-vanilla, not-quite-chocolate nature of this marvel? Or is it the luscious and very requisite cream cheese frosting that is lathered atop it?


I would have to guess that it's actually these three facets combined into a perfect storm that makes this cake well, dang near perfect.

It turns out that for a time, this type of cake was not so popular. In the 70's people started getting leery of the red dye and stopped eating anything that contained it (including red M&Ms which were taken out of circulation until 1987). But luckily, the scare passed and we are able to enjoy our raunchy red foodstuffs without fear.


Now, my complaint with many a Red Velvet cake is that they don't quite have enough cocoa in them. Now I know, I know that they're only supposed to have a smidge and really only for color, but can one more tablespoon really hurt? I don't think so. I like the extra earthiness that added cocoa gives, so go for it I say. I also think that buttermilk is key in this cake, it just gives it that extra tang.


All in all my cake turned out beautifully, except for one thing...a Red Velvet cake requires a lot of red food coloring. And when I say a lot I mean about two bottles worth...something I did not plan ahead for and found myself with a decidedly pink cake. It turns out that people like pink cakes almost as much as they like red cakes, and some people even preferred knowing that there isn't quite as much red dye no. 5 in their dessert.

RECIPE
pink velvet cake with cream cheese frosting
serves 10-14

3 Tbsp cocoa powder (not dutch processed)
2 1/4 cups flour
1 1/2 tsp baking soda
1/4 tsp salt
1 cup buttermilk
2 lg. eggs @ room temp
1 Tbsp white vinegar
1 tsp vanilla extract
1 1/2 Tbsp red food coloring (2-3 Tbsp for RED cake)
12 Tbsp (1 1/2 sticks) butter, softened
1 1/4 cups sugar

- set oven to 350 degrees and place oven rack in the middle
- grease two 9-inch pans and dust with cocoa powder
- whisk together flour, baking soda and salt in a medium bowl
- in another medium bowl, whisk together buttermilk, eggs, vinegar, food coloring, cocoa and vanilla
- In a large bowl (or in the bowl of a stand mixer) beat the butter and sugar on high until fluffy (3-6 min)
- reduce speed and mix in 1/3 of the flour mixture, followed by 1/2 of the buttermilk mixture.
- repeat until both are gone
- making sure the batter is thoroughly combined, scrape the batter into both of your pans, leveling them slightly
- Bake the cakes 20-25 minutes, until a knife or toothpick comes out clean
- let the cakes cool slightly and then turn them out onto drying racks.
- cool completely before frosting.

cream cheese frosting
2 8-oz packages of cream cheese
10 Tbsp butter - completely softened (or you'll get little chunks of butter in your frosting)
3 Tbsp sour cream
1 1/2 tsp vanilla
1/4 tsp salt
2 cups confectioners sugar

-beat the cream cheese, butter, sour cream and vanilla together until light and fluffy
- increase beater speed and mix in sugar, beat about 5 or 6 minutes
- frost your cake

Tuesday, April 20, 2010

pink lady quinoa pilaf with beets and avocado - something healthy for once!

After two weeks of throwing moderation out the window I figured it would be a good idea to focus on some healthy eating for a little while. I also wanted to make something quick and something that would incorporate a good amount of veggies from my weekly farm box. I immediately thought of Quinoa!


A friend of mine made a quinoa pilaf for me a few years back and it was, for all it's hippy and healthy connotations, surprisingly delicious.  She added sesame oil to it and the nuttiness of the oil mixed with the grain packed a flavor that I did not expect and tickled me right pink.


I now love this little grain. Unlike other, more common grains, such as wheat or rice quinoa contains a balanced set of amino acids making it a uniquely complete protein. It is also gluten-free which is nice for the surprising number of friends I have that are allergic to it.


I looked through my farm box and found beets with their greens, spinach and avocado and with that trifecta, I went to work. Yet another great thing about quinoa is that it takes very little time to prepare, in fact the longest part of this whole dish is roasting the beets.


Although I made this for a random Tuesday night dinner, this dish is also a beautiful first course for a fancy dinner party - the purple color of the beets bleeds into the quinoa and then the fresh green of the avocado is a nice finish.

RECIPE

pink lady quinoa pilaf
serves 5 as a starter, 3 as a main

1 cup dry quinoa
2 cups water
4 Tbsp olive oil
2 Tbsp fresh thyme
1 large onion, diced
3 cloves garlic, minced
3 beets, diced and greens set aside and loosely chopped
3 cups packed fresh spinach
2 Tbsp balsamic vinegar
2 tsp dried avocado (3 fresh)
1 avocado, diced
3 Tbsp sesame oil
salt and pepper to taste

-preheat the oven to 375 degrees.
- put the beets in mounded on a sheet of tinfoil with the sprigs of thyme and drizzle with olive oil. Season with salt and pepper. Roast for 35-40 minutes.
- place the quinoa and water in a pot and cook over medium heat until the water is all gone. If the quinoa doesn't seem quite done then add a little more water.
- meanwhile, saute the onion and dried basil in two Tbsp of oil until translucent. Then add the garlic, spinach, beet greens and balsamic vinegar and cook for about 8-10 minutes until wilted.
- when the quinoa is ready combine the spinach mixture and the beets with the quinoa. Add the sesame oil and salt and pepper. Mix thoroughly and the quinoa will get to be a nice pink color.
- plate the pilaf and put a third of the avocado on top of each serving.

Monday, April 12, 2010

baking bananas - a good use for those black beauties

The road trip continues and our most northern destination was my adopted hometown of Seattle! It has been awesome to come down from nearly two weeks of camping to my mother's house and into the throngs of foodies that surround us when we get here. We have had a whirlwind tour of eating, as happens every time we come here and there is a special kind of anxiety I experience when I realize I'm just not going to get it all in (neither time nor stomach are willing).


While here we have tasted pulled pork pizza with cotilja cheese (Flying Squirrel pizza), smoked basa fish tacos (Roy's BBQ), the Don King donut (Mighty-O Donuts), and the coup de grace, carrot cake with homemade cream cheese (Sugar & Salt)!!! But I also took advantage of my mom's massive kitchen to put our rapidly blackening bananas to good use.


There are about a gazillion banana bread recipes out there and often it comes down simply to personal preference. I am a big fan of the banana-chocolate combo so I usually put chocolate chips in. Sometimes I even like to throw in a little peanut butter but this time I kept it simple. I think that the secret to this particular banana bread recipe was the amount of butter, a whole stick of butter, so if you had any pretense that this banana bread was a "healthy" treat, well, you might want to think better of it...it's mostly fruit right?


The key is also to use bananas that are well-ripened. If you are just dying to make banana bread and your bananas are pretty new, then give them a good couple of squeezes before you peel them to get them on their way. I usually have a couple of really black bananas in the freezer though, and those make fabulous banana bread.


RECIPE
banana muffins with milk chocolate chips
makes 12
adapted from Bon Appetit

1 1/2 cup all purpose flour
1/2 cup granulated sugar
1 1/2 tsp baking powder
1/4 tsp salt
2 large bananas, mashed
1 large egg
1/2 cup (1 stick) butter, melted (I use salted)
1/4 cup milk
1/2 tsp vanilla
3/4 - 1 cup milk chocolate chips

- preheat oven to 350 degrees
- mix together all of the dry ingredients in a large bowl (the first four listed here)
- mix together all of the wet ingredients in a medium bowl (the next five ingredients)
- add the wet mixture to the dry mixture and stir to combine
- mix in the chocolate chips
- fill lined muffin cups (or silicon muffin liners on a baking sheet) about two-thirds full
- bake in the oven for about 30-35 minutes (until a tester comes out without crumbs)

Wednesday, April 7, 2010

on the road again...campsite cooking in utah's national parks

So, it has happened...I have officially turned 30 and with it become, finally, an adult. It seems that at 30 no one can tell you what to do or where to be, though perhaps they'll still try. But you can just smile, nod and say "hey, I'm 30 and I don't want to." At least that's what I plan on doing.


snow camping in Bryce Canyon...me and the kitchen


Though I don't feel apprehensive about rounding the bend of this great scary number, I do feel a need to say goodbye to the roaring twenties with a bang. That and I love birthdays.

Lucky for me, I'm a gal with a guy who likes to make me happy and also shares my love for spontaneity and adventure. Once, so many years ago, I told him that I love surprises and to this day he never fails to get me good.
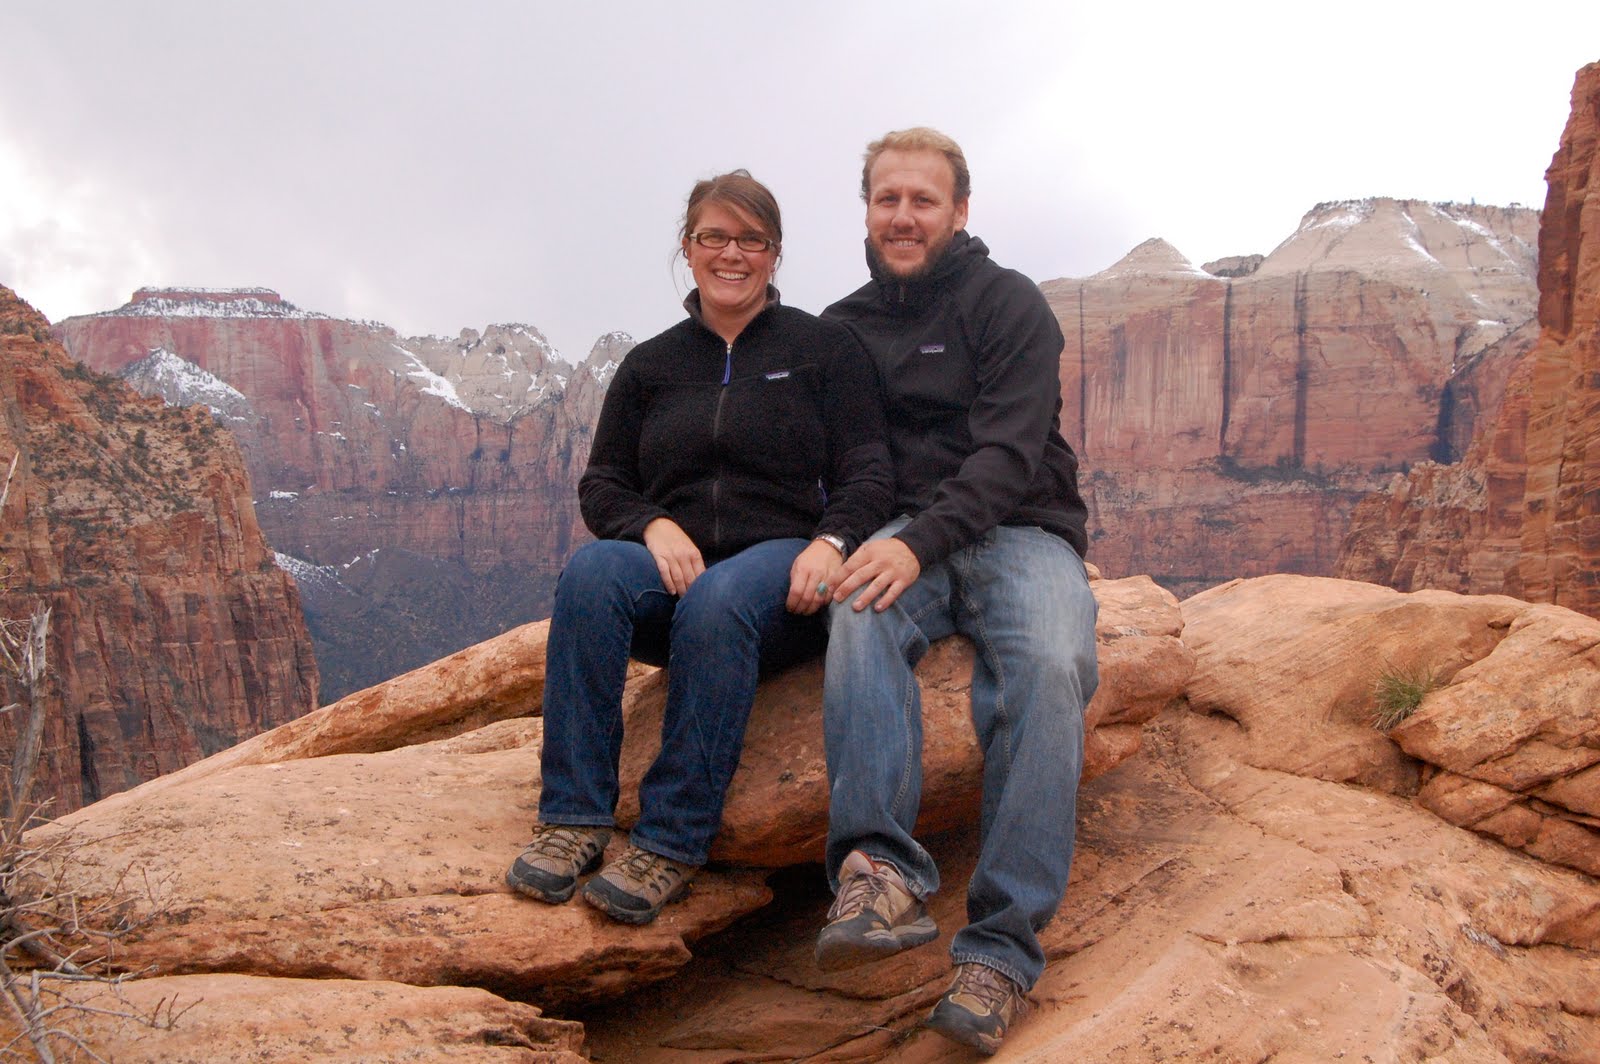

aren't we precious?


This year takes the proverbial cake though as he's planned a 16-day surprise road trip. Yep - I started out having no idea where we were going and each morning, sitting on the dash of our beloved camper van is a new card, waiting to be torn open and reveal that day's destination. It is pretty much the sweetest thing anyone has ever done for me and I love it.

Now, at this point you're probably asking yourself "isn't this blog about food? Where are we going with this story??? It better be tasty." And I assure you that it is.

no explanation needed


The thing about a two week road trip is that it certainly takes me out of my kitchen, but that doesn't mean that I stop cooking. As you've all heard me say over and over again, I love a good challenge and nothing is more challenging than producing gourmet food over a campfire and a coleman stove. But we try and often, we succeed.

So, this post is going to showcase a few of the on the road meals we've made and hopefully inspire you all to get outside and Iron Chef your way to a four star meal by the fire (followed by the requisite marshmallows of course).

Day One

Vegas baby and we did no camp cooking that day but went to a seriously off the strip restaurant called Rosemary's that, as luck would have it, was having a ladies night, meaning that all of my drinks and food were half off. That sounds pretty kitchy for a restaurant of this caliber, but hey, it worked for us. And the food was pretty good too - though I've got to admit, their wine pairing was WAY off.

For breakfast the next day we hit up Jean-Phillipe's bakery and I got to try a Nutella brioche that was pretty dang divine. Plus the scenery was surreal given the Bellagio's Alice-in-Wonderland-esque garden.


Day Two

We were off to Zion National Park where we feasted on what I've heard my friends call Juicy Lucies. This is where you place cheese inside your hamburger so that it oozes out melty goodness as you bite into it. We had brought along some of our absolute favorite Happy Canyon free range, milk fed ground beef and I tell ya, it makes all of the difference. I had also whipped together a loaf of that no-knead bread everyone's talking about these days (and it is sadly, oh so easy) and used it as buns. It was an awesome way to start the trip.


all hail the juicy lucy


Day Three

 Another day in Zion (reminds me of a Fugees song) and this time we went into town in search of good BBQ. We'd heard of a joint called the Bit & Spur and by the name alone we thought we were onto something good. Unfortunately, we were wrong and the name was supremely misleading. A maladroit combination of Mexican-Thai-Southwestern fusion, nothing on the menu called our names, but we stuck with it anyway.

Thomas had the ribs, the closest thing to BBQ on the menu and they were dry and sauceless, making it completely unnecessary to use the giant stack of napkins placed before him. I ordered the seemingly benign "Polenta Stack" which was drowning in a confusion of ethnicities and wasn't sure exactly what flavor it should impart. It was an amalgamation of grilled polenta, crimini mushrooms, sauteed poblano chilies, walnuts, rosemary and goat cheese. All of this was sitting atop a strangely orange running mess claiming to be smoked cheese sauce and tasting strangely like licking cardboard. Alas, not our favorite dining experience.

Day Four

Moving on to Bryce Canyon National Park, and another day of great hiking followed by some solid eating. Every time we go camping we always have what we call "ranch mac" for at least one meal. Ranch mac is essentially mac & cheese with some sprucing up. For this iteration we added broccoli, some Rincon Gold premium albacore tuna in olive oil, and grilled onions. This is like taking your mac & cheese to 11 and makes it a wee bit more nutritious as well.

ranch mac


Other potential ranch mac additions include: hot dogs (fancy sausages are even better!), garlic, oregano, spaghetti sauce, ground beef, smoked salmon, peas, fresh tomatoes and really anything you're trying to get rid of.

Day Five & Six

Arches and Canyonlands National Parks...I just want to take a moment to comment on how truly stunning our National Parks are in the US. This is my first time in Utah and I have previously shied away from visiting for the obvious reasons, but man o' man, regardless of weird religious inclinations, they have some seriously beautiful countryside.

overlooking the green river


Arches and Canyonlands are no different, they are crazy expanses of deep and sinuous canyons coupled with awe-inspiring rock arches and precariously perched boulders just waiting to tumble. We only made one meal of note while here and that was good ole' steak and potatoes. There is just something about steak and potatoes that is so satisfying, especially after a long day of hiking. There isn't much to say about this meal other than "yum".


RECIPE

jucy lucy sliders on no-knead bread

1 lb ground beef, preferable high quality grass fed (or even better, milk fed) beef - I promise you will taste the difference.
12 small dice-sized chunks of sharp cheddar (it's got to melt, so don't make them too big)
4 slices of bread, cut in half (sized for sliders), click this link for the no-knead bread recipe
1 vine-ripened tomato, sliced
4 leaves of romaine hearts (arugula would have been nice here too)
4 slices of onion
2 tsp ground sage
1 Tbsp garlic salt
1 tsp pepper
additional salt to taste

- mix together ground beef, sage, garlic salt and salt and pepper
- form ground beef into eight small patties, about two inches in diameter
- place three pieces of cheese on top of four of your patties.
- place the remaining four patties on top of the cheese and pinch the two patties together along the edge to seal
- once your campfire has some good coals, place your burgers on the grill, along with your four onion slices
- cook to your liking, about four minutes per side for rare, eight minutes  per side for well.
- assemble all of the ingredients together on the bread and use your favorite condiments.